First of all, thankyou to my few followers for your comments. I've been wanting to converse with some of you but for some reason I cannot leave comments.....I don't know why, I just don't understand computers/internet all that well.
On the brighter side, I've been ambitious and today I made the mockup for the carpi gown. It was rather fun, having no help, and taking it off and on and off and on and trimming and pinning... I think I got it where I like it now. I let it sit for several hours and tried it on again to be sure, and then cut out the permanant pattern out of more white cotton, and hopefully I will get to cut out and begin constructing the bodice tomorrow.
As you can see there was alot of pinning and tweaking of the shoulder straps. They end up being kinda a funky shape once they're laid out flat, but they hug my shoulders fairly well without being too tight. My worries however, are wether or not they will continue to hold their shape once the sleeves are set in, and wether or not the fact that they are much narrower where they join the bodice front will make trim placement more difficult. Since the ribbon I am planning to use is so narrow I think I can ease it closer there without it looking too silly. I guess we will find out. The diagonal wrinkles under the bust will theoretically dissapear once the bodice is constructed with the proper materials.
I'm still planning on interlining with a layer of linen and wool stitched together, but now am trying to decide if I wish to 'bag' line the bodice like I do with most of my gowns, or once again try the 'flat' lining method, or wrap the front fabric around the interlining, whipstitch it down and then line it by turning the edges of the lining in and whipstitching it on.....I've never had much luck with that method, but I think it is more period? I haven't done much research on that area.
Wednesday, December 14, 2011
Tuesday, November 22, 2011
I couldn't help myself....
11 days until the wedding. The only thing that remains to sew is a small round pillow to fit in a brass tray for the rings to sit on!! But.....it was easier to do all that sewing than face the other stuff going on with the weddings, including the severely incompetant hotel manager. We have a reception hall.....but cannot use their kitchen, as he originally told us and have no way to keep food hot. grumble grumble. I could go into quite a rant about everything, but I will spare you.
On the brighter side, I have ordered 5 yards, 60 wide, emerald green handkerchief linen for the outside of the green carpi gown, and 75 yards of 4mm copper coloured silk ribbon. I'm hoping 75 yards will be an excessive amount, but its fairly afforadable, so I'm hoping I'll be able to go all out and copy the exact pattern of trim application in the portrait and not have to skimp! I have also purchased a period -ish glove pattern and started making a mockup out of scraps of blue velveteen. So far so good. I'm hoping to find some thin garment leather in about the same colour as the silk ribbon so I can make matching gloves.
I've been thinking about the bodice construction in my spare time. I've done a corded bodice before (thanks to festive attyre! ) and really like the feel and shape. However, I'm very small chested, and all the cording is allot of work to go into for not needing it. I have some teal coloured wool in my stash and I think I will simply interline the bodice with a layer of the wool 'quilted' to a layer of linen and see how it works. I've also decided that I will have side back lacings, as I simply can't justify back-lacing being period for that type of gown. The sleeves and armscye will be completely finished and the top of the sleeve will be whipstitched in arcross the top and side of the sleeve to give that sewn-in look. I've done something similar before with my 'la bella' gown and it works pretty well, just makes it a little snug getting into.
I'm still trying to decide on the camicia, if I want to invest in more linen or go with a lighter more comfortable voile. I want to do whitework along the neckline, and the structure of the linen would greatly aid with supporting the embroidery. However, those beautiful fine little pleats around the cuffs would be much easier if I went with a voile.....hard decision....so I don't know.
Other than that I just need to find suitable lining for the skirt, and something sheer for the partlet and that head-thing and research jewelry-making stuff....
I'm so excited to start a new gown for myself, but with the wedding, moving and settling in, and then Christmas, its looking like I won't be able to start anything until the new year. Theoretically....I'm sure there will be those moments between stuff and evenings were I might be able to sneak in some work...i'm resourceful like that. lol.
On the brighter side, I have ordered 5 yards, 60 wide, emerald green handkerchief linen for the outside of the green carpi gown, and 75 yards of 4mm copper coloured silk ribbon. I'm hoping 75 yards will be an excessive amount, but its fairly afforadable, so I'm hoping I'll be able to go all out and copy the exact pattern of trim application in the portrait and not have to skimp! I have also purchased a period -ish glove pattern and started making a mockup out of scraps of blue velveteen. So far so good. I'm hoping to find some thin garment leather in about the same colour as the silk ribbon so I can make matching gloves.
I've been thinking about the bodice construction in my spare time. I've done a corded bodice before (thanks to festive attyre! ) and really like the feel and shape. However, I'm very small chested, and all the cording is allot of work to go into for not needing it. I have some teal coloured wool in my stash and I think I will simply interline the bodice with a layer of the wool 'quilted' to a layer of linen and see how it works. I've also decided that I will have side back lacings, as I simply can't justify back-lacing being period for that type of gown. The sleeves and armscye will be completely finished and the top of the sleeve will be whipstitched in arcross the top and side of the sleeve to give that sewn-in look. I've done something similar before with my 'la bella' gown and it works pretty well, just makes it a little snug getting into.
I'm still trying to decide on the camicia, if I want to invest in more linen or go with a lighter more comfortable voile. I want to do whitework along the neckline, and the structure of the linen would greatly aid with supporting the embroidery. However, those beautiful fine little pleats around the cuffs would be much easier if I went with a voile.....hard decision....so I don't know.
Other than that I just need to find suitable lining for the skirt, and something sheer for the partlet and that head-thing and research jewelry-making stuff....
I'm so excited to start a new gown for myself, but with the wedding, moving and settling in, and then Christmas, its looking like I won't be able to start anything until the new year. Theoretically....I'm sure there will be those moments between stuff and evenings were I might be able to sneak in some work...i'm resourceful like that. lol.
Saturday, October 29, 2011
Planning Ahead
So there is a slight lull in wedding sewing! I have only a handful of things left to do, but am waiting on various things such as arranging fittings and confirming the servers to I can make their tunic appropriate sizes, so on and so forth. I have 35 days to go until the wedding, and I think I will have no problem getting everything done, especially with the help of my bridesmaids.
So I am now allowing myself to plan what I want to sew after the wedding and after Christmas. My persona is Florentine, early 1500's and I really only have two or three gowns that reflect that. I have two portraits picked out that I currently can't stop lusting over. I'm not sure why either since puffy sleeves (as are in both portraits) are not really my thing. Perhaps it is the uniqueness and novelty of trying a new style:-)
The first portrait is Bacchiacca's 'Portrait of a Woman with a Book of Music' c 1540.
The sad part....I have to wait at least two months before I can start with either of them. Hopefully though that will give me enough time to research and plan and plot and find the perfect materials.
So I am now allowing myself to plan what I want to sew after the wedding and after Christmas. My persona is Florentine, early 1500's and I really only have two or three gowns that reflect that. I have two portraits picked out that I currently can't stop lusting over. I'm not sure why either since puffy sleeves (as are in both portraits) are not really my thing. Perhaps it is the uniqueness and novelty of trying a new style:-)
The first portrait is Bacchiacca's 'Portrait of a Woman with a Book of Music' c 1540.
Why I like this portrait, I'm not really sure...as I said there are puffed sleeves involved and I am really not a big fan of pink. Perhaps it the applique? I am a sucker for that. LOL. This woman strikes me as being someone with a quirky and perhaps a carefree attitude for her time and place. The trim on her gown is definiately unique, and she flaunts it well...having the hem draped over the chair just so to make it extra visible? My plan here is to make as close a copy as possible, using linen (more affordable that silk) for the majority of the gown, blue/brown silk taffetta for the sash and balzo and rabbit fur to line the lower velvet sleeves. Perhaps I can find some very light weight linen for the partlet thingy and of course, make myself a new camicia, as a girl cannot have too many of those. Things that will be new for me in trying to sew this gown will be the balzo, the ruched baragoni, and fur sleeves.
The second gown I wish to make is the one in this 'Portrait of a Woman' c1530 which is attributed to either Peter de Kempeneer or Girolamo da Corpi. I beleive she is a woman of Ferrara, but the gown is close enough in style to some Florentine and Roman gowns that it will still work for my purposes.
Again, I'm not positive what strikes my fancy so about this particular dress. I do not care for the trim placement on the bodice or the trim color, and again with the puffy sleeves.... Oi! Again, however, I wish to make this gown out of a jade green linen, and perhaps find a copper coloured trim instead of the yellow. I hope to experiment with jewelry for this one, as I suck with jewelry making thus far, and maybe I'll be brave enough to attempt a pair of gloves and a feather fan. Up until this point I have stuck with flag fans, as they are easy and fun to assemble. The sad part....I have to wait at least two months before I can start with either of them. Hopefully though that will give me enough time to research and plan and plot and find the perfect materials.
Saturday, October 22, 2011
and then I made a few hats....
And then I made a few hats for the men in the wedding entourage. Zach already had a hat, but I had made the top too small, so I tore that one apart and made a new top, then added a cord of blue/black and silver lucet cord. It is made from black velveteen. the brim is interlined with several layers of linen and the top is lined with scrap silk.
I made another cap in the exact same style for one of Zach's groomsmen, this one out of a really dark blue wool. I did the visible stitching in silver thread to make it better match the doublet that goes with, and made a silver tassle to hang off the band...not sure I like that final touch at all yet, I'll wait for some masculine input or from someone who knows about hat decorating in the fifteen hundreds.
The third cap I made was my first try at one of the three-cornered hats seen worn by older gentlemen of the period, with a simple band instead of a brim. I'm hoping this one will fit with the pastor and his garb, but again, not sure I like how it turned out.
The picture is kind of lame unfortunately and doesn't really show what they look like on a person's head, and I have a lack of models this week. And once again I am bemoaning the fact that time restraints don't allow for much research. I cringe to think at some of the shortcuts I'm taking for wedding garb, but alas, what else is to be done? I just need to remind myself of the true purpose for all this and stop worrying.
I made another cap in the exact same style for one of Zach's groomsmen, this one out of a really dark blue wool. I did the visible stitching in silver thread to make it better match the doublet that goes with, and made a silver tassle to hang off the band...not sure I like that final touch at all yet, I'll wait for some masculine input or from someone who knows about hat decorating in the fifteen hundreds.
The third cap I made was my first try at one of the three-cornered hats seen worn by older gentlemen of the period, with a simple band instead of a brim. I'm hoping this one will fit with the pastor and his garb, but again, not sure I like how it turned out.
The picture is kind of lame unfortunately and doesn't really show what they look like on a person's head, and I have a lack of models this week. And once again I am bemoaning the fact that time restraints don't allow for much research. I cringe to think at some of the shortcuts I'm taking for wedding garb, but alas, what else is to be done? I just need to remind myself of the true purpose for all this and stop worrying.
venetian's mens coat
Ok, here's another evidence of lack of research. I have no idea what this garment is technically called, so I've been calling it a coat, I'm pretty sure thats not right. Anyone care to enlighten me? I saw this type of garment in two pictures, several decades apart and both appear to have almost the exact same construction, the first is Lorenzo Lotto's 'Portrait of Febo da Brescia' in 1544 and the other is in Giovanni Battitsta Moroni's 1565 'Portrait of Antonio Navagero.
Anyway, I wanted to make this coat for my dad to wear to the wedding. He is down in New Mexico until the day of teh rehearsal, and so that gives no time for fittings and no way to get his measurements, and the coat is loose fitting and should easily go over a (not so well fitting) borrowed doublet. However...not that I have it done, and it went so easy and looks so nice, I may have milord wear it over his doublet instead and make another one for my father. We'll see;-) I'm just crazy.
So, I started out with two yards of 60 wide olivy-foresty green cotton velveteen and five big 'grizzly' coloured rabbit hides. The cutting out was pretty simple after I thought about it for a while. I only needed a front/back, the underside of the collar and two outer sleeve pieces. Here's my diagram;
And miraculously the coat is both long enough and plenty full enough. I was very worried at first. The front of course I slit open down the center front and I cut down a bit more of the neck opening in front. I trimmed the edges of the first rabbit hide, and then cut in half widthwise and stitched the two pieces together side by side for the collar lining. The rest of the garment is lined in plain black cotton. The remainder of the rabbit hides I trimmed down to nine inch strips, and then cut those again lengthwise and placed the narrow edges together and sewed those down to only the black cotton along the front opening edges. For the fur edging around the sleeves I used the long kinda ragged strips from the edges of the rabbit hides and placed those along the outer edge of the black cotton lining for the sleeves and stitched those down. Then I sewed the garment as usual, bag lining it, and topstitching the edges. This was perhaps not the proper way to sew with fur, but i'm very new to working with fur and this was simple and effective. I lengthened the stitch on my machine to avoid perforating the thin rabbit hides too badly and so far there is no tearing:-) We shall see what happens after it has been vigorously worn a few times, and hopefully someday I'll get to make one with a better fur than rabbit.
Thursday, September 29, 2011
Medeival Ecclesiastical
So yesterday I got to dabble in one more foreign area of renaissance garb for the wedding. The Baptist pastor who is officiating the service is willing, and somewhat excited, to join us in dressing up, as long as whatever he is wearing is not too denotive of Catholicism or Friar Tuck. So....not knowing much about ecclesiastical garb in the first place and not really having the time to do the proper research, I browsed though the male portraits on The Realm of Venus and chose this one, Paolo Veronese's Portrait of Daniele Barbaro 1566. For one, it looks fairly simple, comfortable and easy for an older gentleman to get in to, and if decorated apropriately, it could be taken for something a Church man might wear.
So off I went to sew. I had four yard of 55 in chocolate brown handkerchief linen and three yards of a medium brown open 'waffle like' weave 60 in wide wool and about four yards of wide vestment trim. As the pastor has very long arms (37 in) and is over 6 foot tall, I mapped out the linen undertunic as best I could, but couldn't nearly get the fullness as seen in the portrait. Its a pretty normal tunic, front/back piece with head hole, sleeves, underarm gussets and side gores. However, I ended up splitting the whole thing down the front, and I need to find appropriate buttons yet for the closure.
For the capelet I deviated again from the portrait. Instead of making the round bottom edge, I left the wool square and long enough so that it will hand well below th belt. I sewed down large soft pleats at the shoulders to help give the garment more body and less droopiness. I then sewed the vestment trim along the bottom edges, front and back. The sides are open. I just need to find an appropriate clasp to fasten the neck opening with and it is done. So really, it doesn't look like the portrait at all....but oh well. it should fit the vision.
I want to yet make the four cornered hat pictured, but I think that will wait for 'hatmaking day' when I need to make several hats for the several of the men in the party.
I'm going to go try to take pictures of the whole thing now, not sure how it will go down as I have no model and the whole thing is pretty shapeless.
So off I went to sew. I had four yard of 55 in chocolate brown handkerchief linen and three yards of a medium brown open 'waffle like' weave 60 in wide wool and about four yards of wide vestment trim. As the pastor has very long arms (37 in) and is over 6 foot tall, I mapped out the linen undertunic as best I could, but couldn't nearly get the fullness as seen in the portrait. Its a pretty normal tunic, front/back piece with head hole, sleeves, underarm gussets and side gores. However, I ended up splitting the whole thing down the front, and I need to find appropriate buttons yet for the closure.
For the capelet I deviated again from the portrait. Instead of making the round bottom edge, I left the wool square and long enough so that it will hand well below th belt. I sewed down large soft pleats at the shoulders to help give the garment more body and less droopiness. I then sewed the vestment trim along the bottom edges, front and back. The sides are open. I just need to find an appropriate clasp to fasten the neck opening with and it is done. So really, it doesn't look like the portrait at all....but oh well. it should fit the vision.
I want to yet make the four cornered hat pictured, but I think that will wait for 'hatmaking day' when I need to make several hats for the several of the men in the party.
I'm going to go try to take pictures of the whole thing now, not sure how it will go down as I have no model and the whole thing is pretty shapeless.
Tuesday, September 13, 2011
Venetian Girl's Gown
The saddest part of sewing so many sets of garb in such a small time frame is that I have time to do very little research. I'm going off of what I know and learning new methodology and easier ways of contrunction. The gown I am working on now is for the flower girl. I have not had a chance before now to dabble in constructing children's garb and I have not previously found any good sources for period children's wear.....So I'm piecing bits of info together when constructing this gown. My main inspiration portrait is Venetian, a detail of Giovanni Antonio Fasolo's 1565, 'The Banquet'; the little girl in front with the purple dress. My construction methods are Florentine, the pattern for the bodice and the skirt based off of the pattern Janet Arnold gives in 'Patterns of Fashion' for Eleanora's burial dress.
However, I have the bodice open in the front instead of the side-backs, and it will lace shut like the traditional v-neck style. I've heard quite a bit about interlining bodices with wool felt, and since this is such a tiny dress, I splurged and purchased a yard of felt. The back, sides and straps are all a single layer of felt, but I stitched an additional piece of felt to the center fronts to give the opening more stability since this dress will not be boned. The shoulder straps are cut on the bias to insure a little more give and comfort, and so the straps hug the shoulders better. The bodice is then lined with muslin and there is purple cotton for the outer layer. The skirt is fairly narrow. There are two front sections, the back and two side gores, each lined with muslin. This is actually much narrower than Eleanora's skirt, but I had only a little over three yards of 45 wide fabric for the dress and having a train was more important to me than the extra width. On my flower girl though it should look fine, as she is really slender. After sewing all the sections of the skirt together I pleated them to a narrow wasit band and whipstitched it to the bottom inside edge of the bodice. The sleeves are fairly simple, bag lined and trimmed with lace at the cuff.
I scoured eBay for the perfect lace, and went back and forth between white or gold. I wanted gold as gold and purple are my wedding colors, but was unsure if that would become too flashy. In the end I ordered some very wide gold venice lace, not knowing HOW wide. It looks decent on the sleeves, but i'm still not sure if i like it around the opening of the bodice. It looks almost too much like a ruff.....we'll see once I get it on the flower girl and see if it needs altered or just completely taken off.

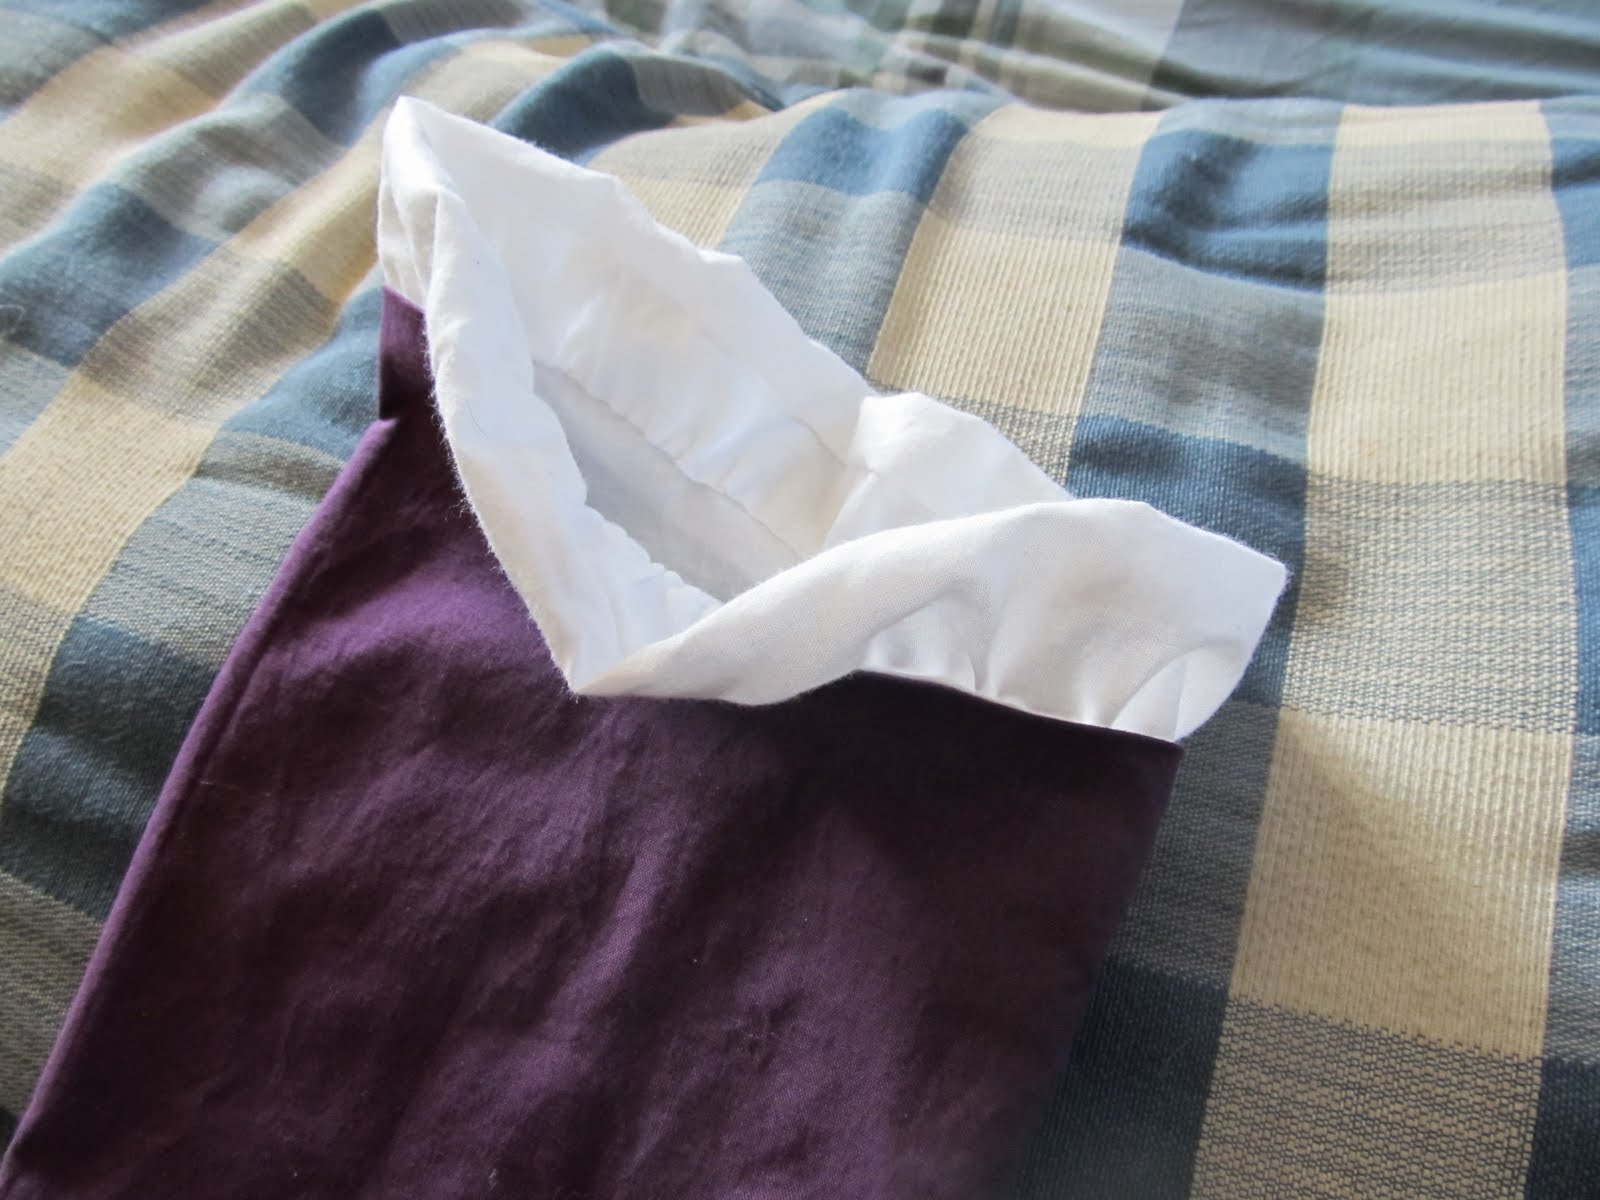
The only thing my flower girl really requested was that she didn't want a camicia......... i think we eventually agreed on a simple sleeveless tunic thing to go underneath, so that at least there will be some protection between her skin and the gown, and there will be 'camicia' peeking between the front lacing. However, I had to come up with something for the small puffs at the shoulders of the gown. I ended up sewing tubes out of muslin and sewing the ends together to make circular tubes. I made them to be a little bigger than the opening of the top of the sleeve and gathered/hand-basted one edge of the tube just inside the top of the sleeve and the other side just barely to the inside of the armscye. My plan is to then join the actual sleeve and the gown at intervals around the armscye (and bead those of course), and then puff the white of the tube up to make that cute tiny even row of white around the shoulders, as seen in the portrait.
I have heard of other costumers doing this before and I believe it possibly could be period. I never have before however, due to having huge camicia sleeves that need to go somewhere, and the gaps and slashes on sleeves just seems the most logical place for their appearance. However, I think that this method will work very well, and very neat, and there won't be near as much primping needed when putting on the gown.
I am almost finished with this gown; I need to finished sewing on the second sleeve, and do the beaded joins on both. I need to decide if i'm doing lacing rings or eyelets for the front closure and follow through with that. I need to find or make a cord to lace it. The under tunic thing needs to be finished up. And once all that is done I need to try it on my flower girl and pin the hem. I want to still add the rest of the wool felt in the hem somehow to make it stand out good. I'm unsure how I want to do that though becasue there is no exterior guard on the skirt, and so I have no where to insert/hid the wool unless I somehow sew it to the inside of the skirt.....still pondering on that.
However, I have the bodice open in the front instead of the side-backs, and it will lace shut like the traditional v-neck style. I've heard quite a bit about interlining bodices with wool felt, and since this is such a tiny dress, I splurged and purchased a yard of felt. The back, sides and straps are all a single layer of felt, but I stitched an additional piece of felt to the center fronts to give the opening more stability since this dress will not be boned. The shoulder straps are cut on the bias to insure a little more give and comfort, and so the straps hug the shoulders better. The bodice is then lined with muslin and there is purple cotton for the outer layer. The skirt is fairly narrow. There are two front sections, the back and two side gores, each lined with muslin. This is actually much narrower than Eleanora's skirt, but I had only a little over three yards of 45 wide fabric for the dress and having a train was more important to me than the extra width. On my flower girl though it should look fine, as she is really slender. After sewing all the sections of the skirt together I pleated them to a narrow wasit band and whipstitched it to the bottom inside edge of the bodice. The sleeves are fairly simple, bag lined and trimmed with lace at the cuff.
I scoured eBay for the perfect lace, and went back and forth between white or gold. I wanted gold as gold and purple are my wedding colors, but was unsure if that would become too flashy. In the end I ordered some very wide gold venice lace, not knowing HOW wide. It looks decent on the sleeves, but i'm still not sure if i like it around the opening of the bodice. It looks almost too much like a ruff.....we'll see once I get it on the flower girl and see if it needs altered or just completely taken off.

The only thing my flower girl really requested was that she didn't want a camicia......... i think we eventually agreed on a simple sleeveless tunic thing to go underneath, so that at least there will be some protection between her skin and the gown, and there will be 'camicia' peeking between the front lacing. However, I had to come up with something for the small puffs at the shoulders of the gown. I ended up sewing tubes out of muslin and sewing the ends together to make circular tubes. I made them to be a little bigger than the opening of the top of the sleeve and gathered/hand-basted one edge of the tube just inside the top of the sleeve and the other side just barely to the inside of the armscye. My plan is to then join the actual sleeve and the gown at intervals around the armscye (and bead those of course), and then puff the white of the tube up to make that cute tiny even row of white around the shoulders, as seen in the portrait.
I have heard of other costumers doing this before and I believe it possibly could be period. I never have before however, due to having huge camicia sleeves that need to go somewhere, and the gaps and slashes on sleeves just seems the most logical place for their appearance. However, I think that this method will work very well, and very neat, and there won't be near as much primping needed when putting on the gown.
I am almost finished with this gown; I need to finished sewing on the second sleeve, and do the beaded joins on both. I need to decide if i'm doing lacing rings or eyelets for the front closure and follow through with that. I need to find or make a cord to lace it. The under tunic thing needs to be finished up. And once all that is done I need to try it on my flower girl and pin the hem. I want to still add the rest of the wool felt in the hem somehow to make it stand out good. I'm unsure how I want to do that though becasue there is no exterior guard on the skirt, and so I have no where to insert/hid the wool unless I somehow sew it to the inside of the skirt.....still pondering on that.
Subscribe to:
Posts (Atom)